Building a Wooden Canoe Hull from Free Plans: A Journey of Craft and Adventure
The allure of a wooden canoe is undeniable. The graceful lines, the scent of fresh wood, and the feeling of handcrafted quality all beckon you to the water. Building your own canoe from free plans is a rewarding experience, allowing you to connect with the craft tradition and create a vessel that reflects your unique vision. This article will guide you through the process, providing a comprehensive overview of the steps involved.
Choosing the Right Plan
The first step is to find a set of free canoe plans that suit your needs and skill level. Numerous websites offer free plans for various canoe designs, from simple, beginner-friendly models to more intricate, advanced designs. Consider factors like:
- Length and width: Determine the desired size for your canoe based on your intended use, number of paddlers, and storage space.
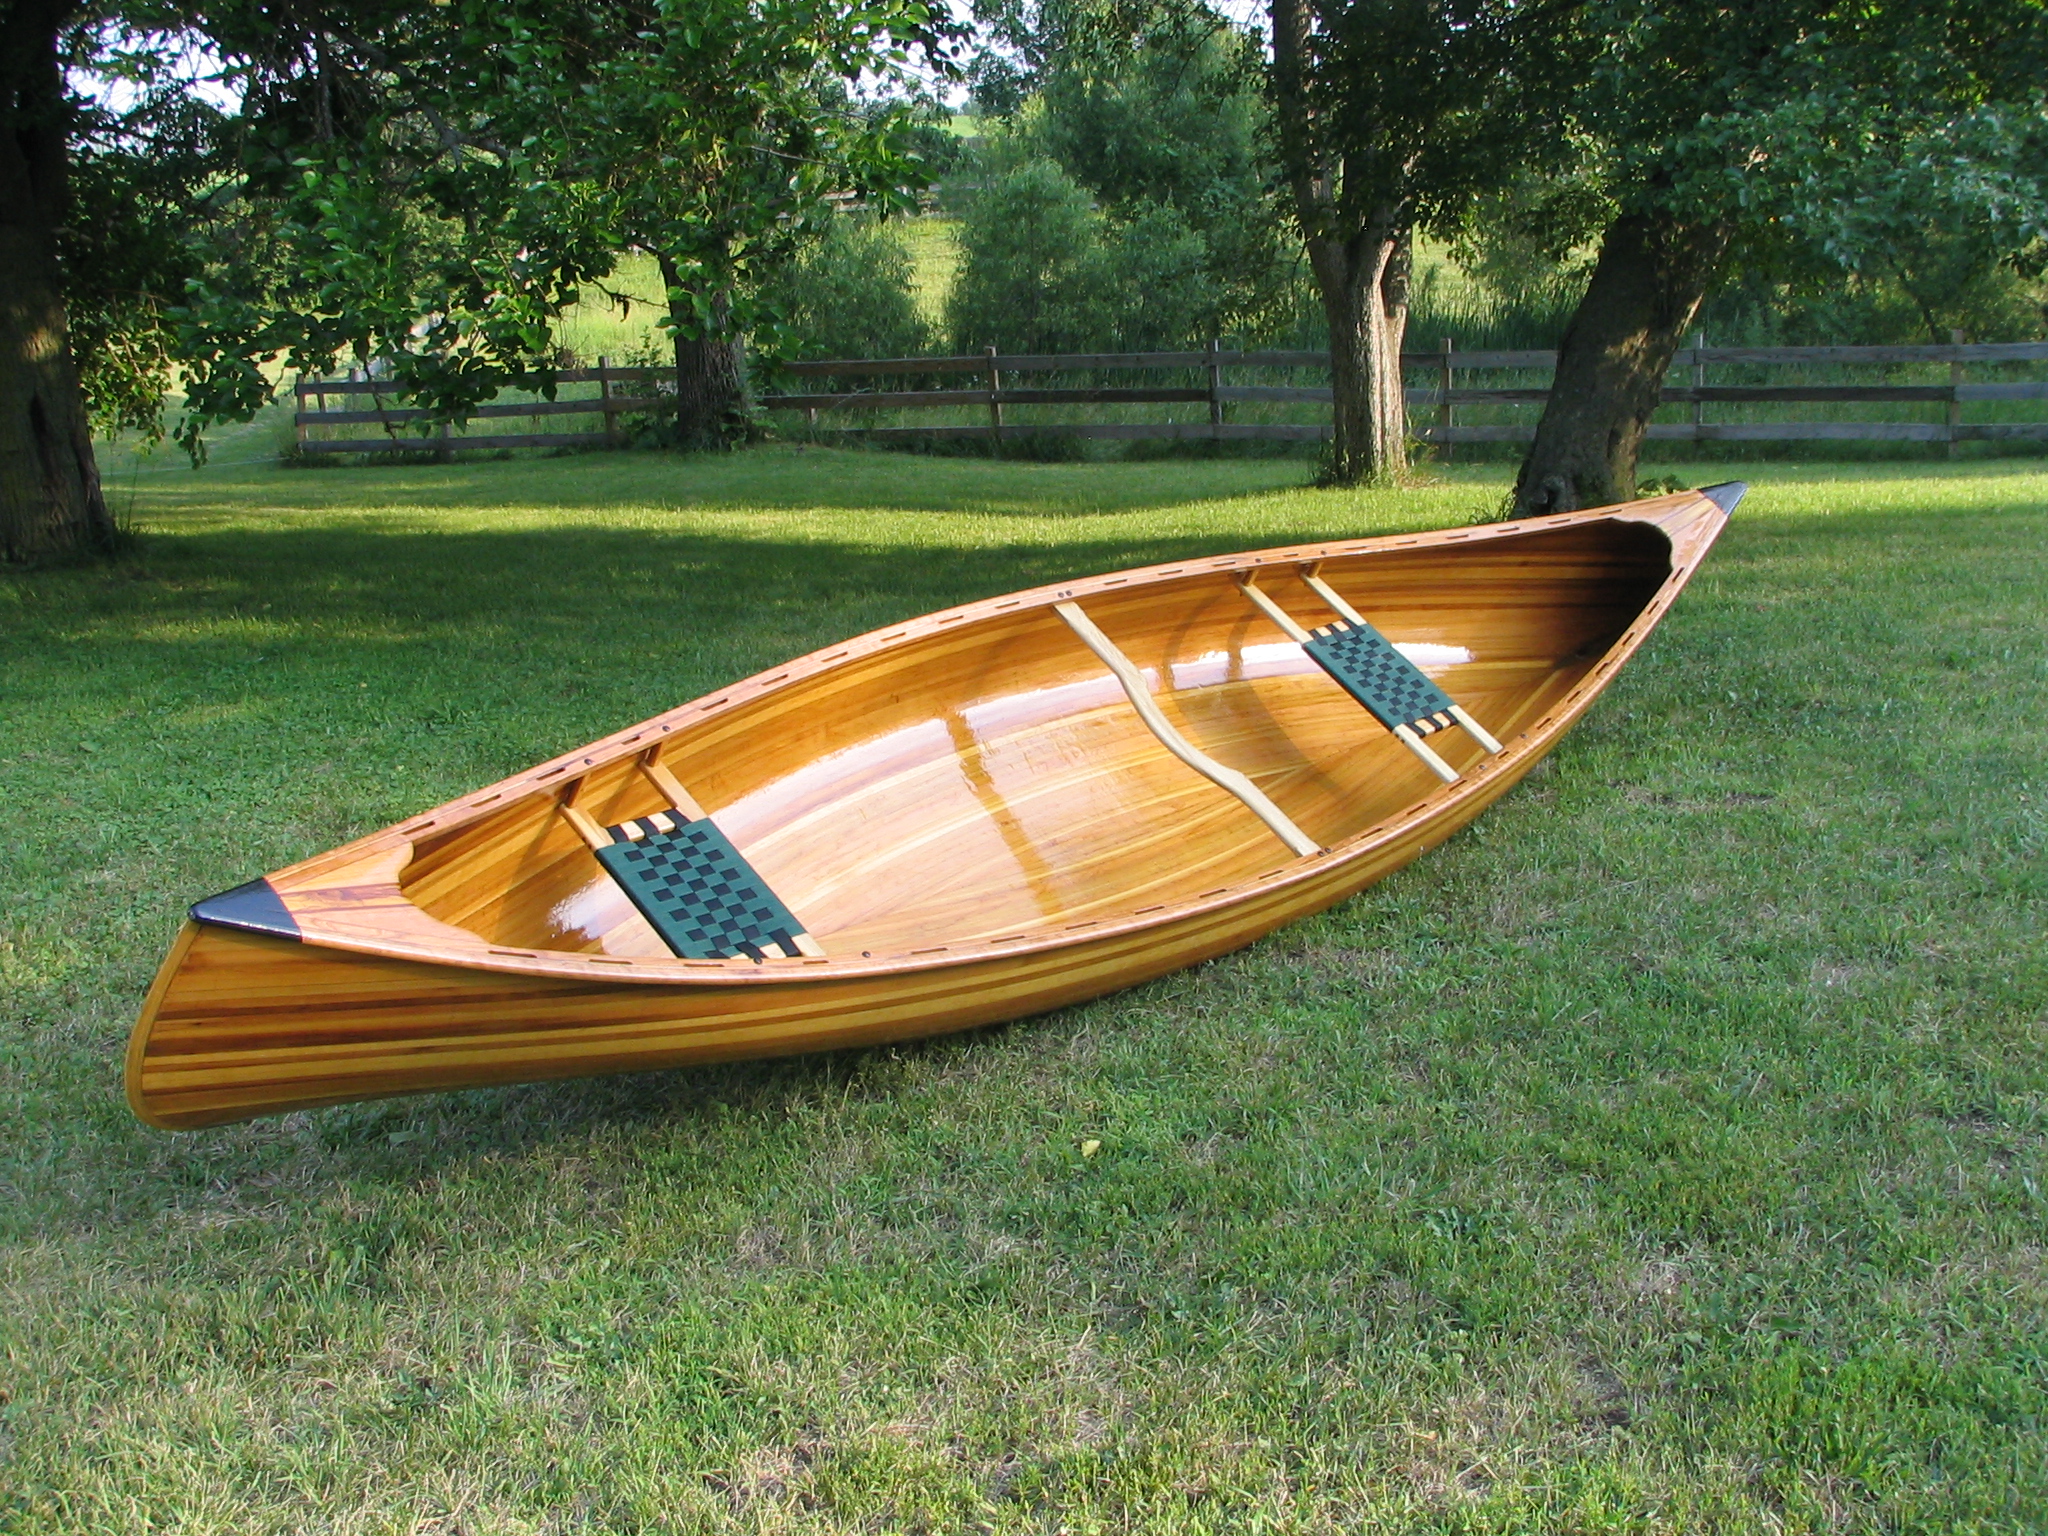
- Hull shape: Explore different hull designs, such as flat-bottomed, rounded, or V-shaped, to understand their performance characteristics in different water conditions.
- Material requirements: Check the plan's specifications for the type and quantity of wood required, ensuring that you have access to the necessary materials.
Once you've found a suitable plan, download and carefully review it. Familiarize yourself with the terminology, construction techniques, and any special instructions provided.
Gathering Materials and Tools
After choosing your plan, gather the necessary materials and tools. The plan will outline the specific types and quantities of wood required, along with any additional materials like epoxy, fiberglass cloth, and paint. You'll need tools such as:
- Hand saws and power saws for cutting wood.
- Planes and chisels for shaping and smoothing wood surfaces.
- Measuring tapes, rulers, and squares for accurate measurements.
- Clamps and vices for holding pieces together during construction.
- Sandpaper, sanding blocks, and a sander for finishing the hull.
- Brushes and rollers for applying epoxy and paint.
Ensure you have a safe and well-lit workspace with adequate ventilation, especially when working with epoxy.
Building the Canoe Hull: Step-by-Step
The construction process can be broken down into several distinct stages:
Cutting and Shaping the Planks
Carefully cut the planks according to the plan's dimensions. Use a combination of hand saws and power saws to achieve precise cuts. After cutting, shape the planks to conform to the canoe's hull curvature using planes, chisels, and sanding tools. This is a meticulous process that requires patience and attention to detail.
Joining the Planks
Once the planks are shaped, join them together using a combination of wood glue, screws, and epoxy. Follow the plan's instructions for the specific joining method employed. Clamps and vices are essential for ensuring a secure and tight bond between the planks.
Adding Ribs and Stems
The ribs provide structure and support to the canoe's hull, while the stems define the bow and stern. Cut and shape the ribs and stems according to the plan's specifications. Attach them to the planking using wood glue, screws, and epoxy. Ensure the ribs are properly spaced and aligned to maintain the canoe's desired shape.
Finishing the Hull
Once the hull is assembled, sand it smooth with sandpaper and sanding blocks. This process removes any rough edges and prepares the surface for finishing. Apply several coats of epoxy to seal the wood and protect it from water damage. Then, apply a final coat of paint or varnish to provide a beautiful finish and further protect the hull.
Launching Your New Canoe
After allowing the final coats of epoxy and paint to cure properly, you're ready to launch your new canoe! Take it for a test paddle on calm waters, and gradually introduce it to more challenging conditions as you gain confidence. As you glide across the water in your handcrafted canoe, you'll savor the satisfaction of building something beautiful and functional with your own two hands.
Safety and Maintenance
Always prioritize safety when using your canoe. Wear a personal flotation device (PFD), and be aware of weather conditions. Regularly inspect your canoe for any signs of damage and repair them promptly. Maintain the epoxy and paint finish to keep your canoe looking its best and protecting it from the elements.
Building a wooden canoe is a journey that combines craftsmanship, creativity, and a deep appreciation for nature. With patience, dedication, and the right tools, you can create a timeless vessel that will provide years of enjoyment on the water.
0 comments:
Post a Comment
Note: Only a member of this blog may post a comment.